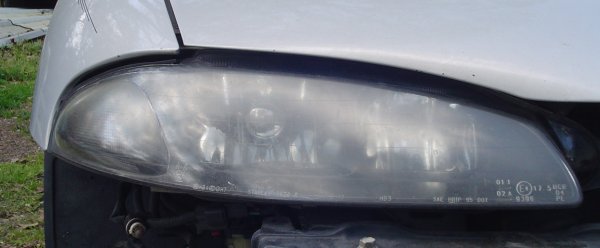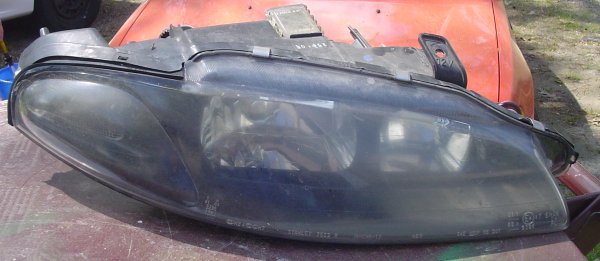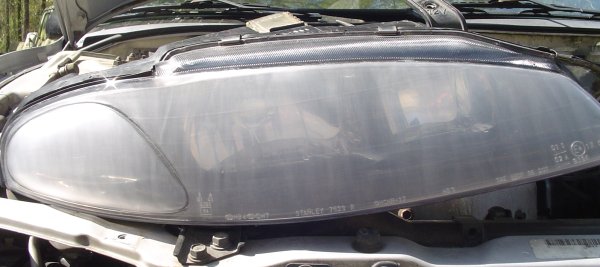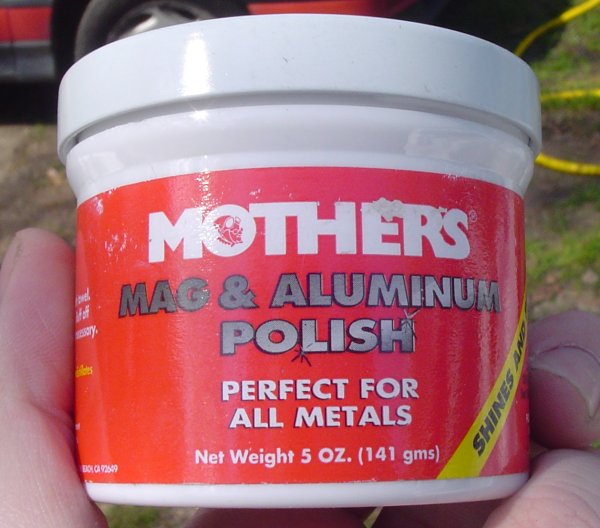
| First I would like to give thanks to the many wonderful people on this forum that have contributed this information. I am only taking what others have done and documenting it for everyone to see. So I had a problem where my headlights started to get hazy/yellow from age. I referenced a few threads from our wonderful forums. You can find the threads here here and here As you can see this headlight is starting to haze. I had already tried the mag wheel polish as others had stated and found that it didn't work quite as well as I was hoping. The driver's side was worse, but I used it to test how well this procedure would work before I would make a wiki for it.  Next up was pulling the headlight off the car and finding a suitable place to work on it. I chose the giant garbage can in the backyard since it is sturdy and the right height to not kill my back from leaning over sanding. The headlights have a bolt on the bottom that can only be accessed by removing the bumper. Most people do not put this bolt back in after so next time the removal is much simpler.  I chose to wet sand the headlight since that was mentioned in one of the threads. I also chose to alternate the directions that I was sanding. This way I could ensure that I was being thorough while sanding.  I went left to right while using the 400 grit. This is what you headlight will look like after going over it with the 400. Note: The headlight is dry in this picture. The majority of the other pictures shows the headlight still wet.  With the 800 grit I went up and down on the lens.  Next up is 1000 grit sandpaper. I sanded left to right this time.  Finally I finished with the 2000 grit sandpaper going up and down.  After finishing up, I grabbed a rag and dried the headlight. As you can see there is still quite a bit of work left to be done.  The last step is to grab your choice of polishing compound. Some people seem to prefer the Meguiar's Plastic Polish, but I already had some Mother's Mag and Aluminum Wheel Polish.  I went over the lens with the polishing compound left to right like I did while sanding. Here is the finished product.  It is kind of hard to see the difference. This is mostly due to the lens being much more like glass now. It reflects a lot of light now during the day and makes driving at night much easier. Total cost is about $13 and maybe 4 hours. I'm sure that if you are more comfortable wet sanding plastic this would go a lot faster, but I took my time to ensure that everything would come out ok. |
| Document statistics: Last modified on 2010-09-15 00:29:29 by Eric |
