
| Had an option to use the OBX intake and thought I would try it out. Got positive results so I put the write up in here. I gained about 3 whp from my ported and polished stocker, with the OBX. More importantly, I upped my peak power point by 600 rpms and flattened out my curve. I also extended the down side of the curve for more power after peak. This makes the intake a low cost (read economy), viable option after some modifications. This is how she looks in the box. The plenum, IMO, is a little big. But it does have the 1/4 and 1/8 npt fittings on the back.  The throttle body hole comes as stock size. If you have a larger throttle body (which I would recommend for this install) port it out (I used a MP 60mm). Sorry no pics of that. In this case I didn't have to worry about the map sensor because I run MSnS. But I could see drilling it out on the end of that plenum, no problem. OK, let's look inside the plenum.  They put the runners through the plenum. One by more than 1/4 inch. Not good. To get inside the plenum I used an 18 inch extension that I use for drilling from one floor to another in a house. 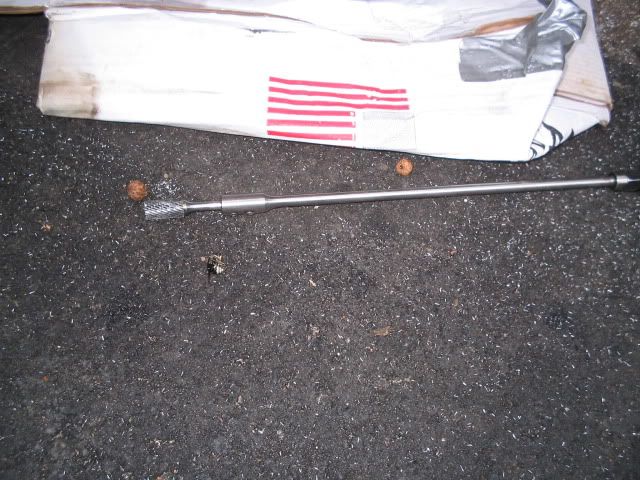 I put my carbide bit in there and stuck that into my pneumatic die grinder. Just ground the tubes down level with the floor of the plenum.  I polished it up afterwards (no pics) Ok, let's look at the flange side now. 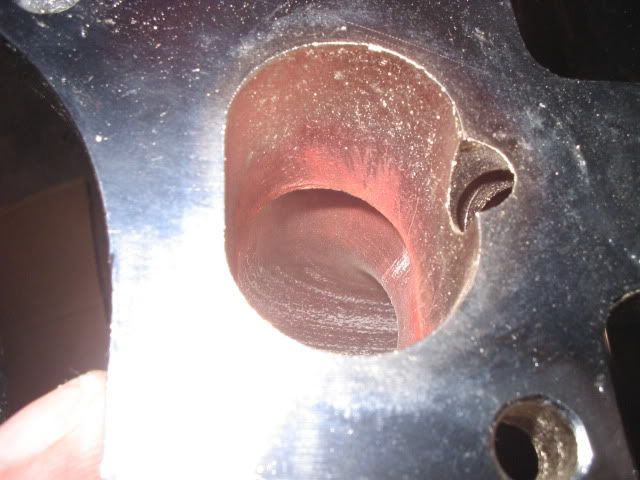 The runners are not even close to aligning with the flange. In some spots, there is like 3/8 of an inch step into the runner area. You must do some grinding there.  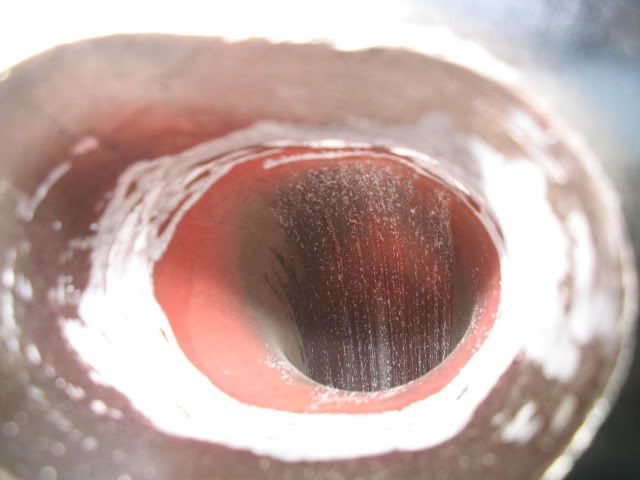 Smoothed out the transition, It's not the prettiest angle, but it is much better than what they sent. Of course, polished that. OK, let's check fuel rail. The fuel rail doesn't quite line up. But I simply made the holes on the old rail a little larger (with a "stepper" bit) like this;  INSTALLATION Now she's ready to install. There are no special bolts or gaskets. It uses the same stock intake gasket and the same nuts and bolts. There is no allowance for you egr set-up on the intake (mine is removed). If you wanted to use yours, you would have to mod up something up. First, take off the old intake; 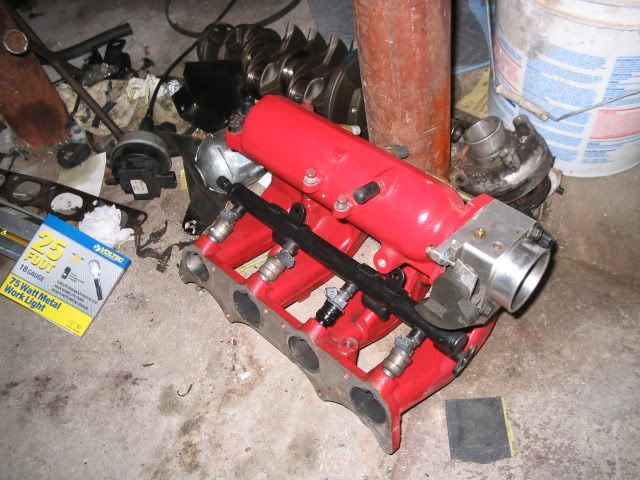 Switsh sensors and vac ports; 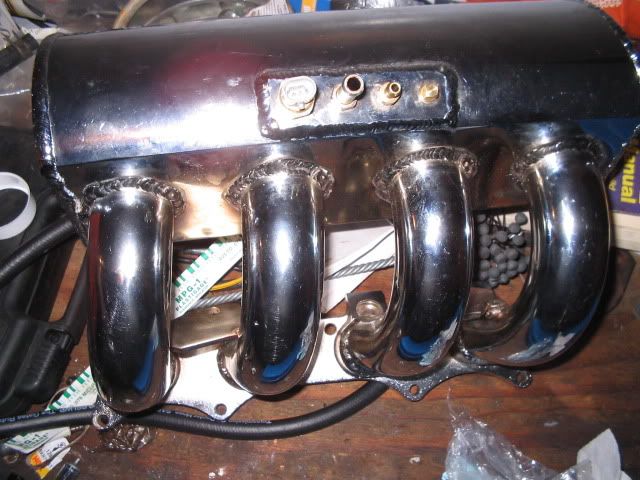  Of course, put on your fuel rail and throttle body (I have no pics of that but it is standard, 2 bolt, stock seals application). The install in the engine bay, is a tight fit. I had to first remove my cruise control;  Which meant I had to replace my cruise control cable with a non-cruise control cable. This allowed me the space to put her in (a lot like the pulley side motor mount bracket on our cars - the one you deal with when doing a timing belt- this was a bit of a "rubics cube" to get in). It took a bit of angling etc. to get it to fit. But once she is in, hook up all your sensors and cables etc and she'll look kinda like this;  Does look pretty shiney/nice in there. From here you are on your own :thumbsup written by bullettdsm bpu |
| Document statistics: Last modified on 2009-05-10 18:25:31 by bullettdsm |
