
Fuel Injector Removal and ReinstallStep 1Remove battery and TB piping (intake or intercooler piping). The piping does not have to be completely removed (but it does make it a lot easier) just pulled away so it can be manipulated. I also removed the hood that way it wouldn’t get in my way and the prop rod wouldn’t get in the way either. It’s just 4 bolts to remove it but you will need and other person with you to lift and move it out of the way. Step 2On the driver side you will see the fuel line coming up from under your car going to the fuel rail. It is connected to the fuel rail by 2 8mm bolts (see picture 1) The bolts are also Phillips head, but use the 8mm to keep them from stripping. Through the whole install I just used a regular sized ratchet, a small stubby one may be easier but not required. Long socket extensions will make getting into some of the tight spots easier. Once you get the 2 8mm bolts out you will have to pull out the fuel line. There should be an 'O' ring on the fuel line as well (see picture 2). I wrapped the end of it with a CLEAN plastic bag to keep debris out of it. 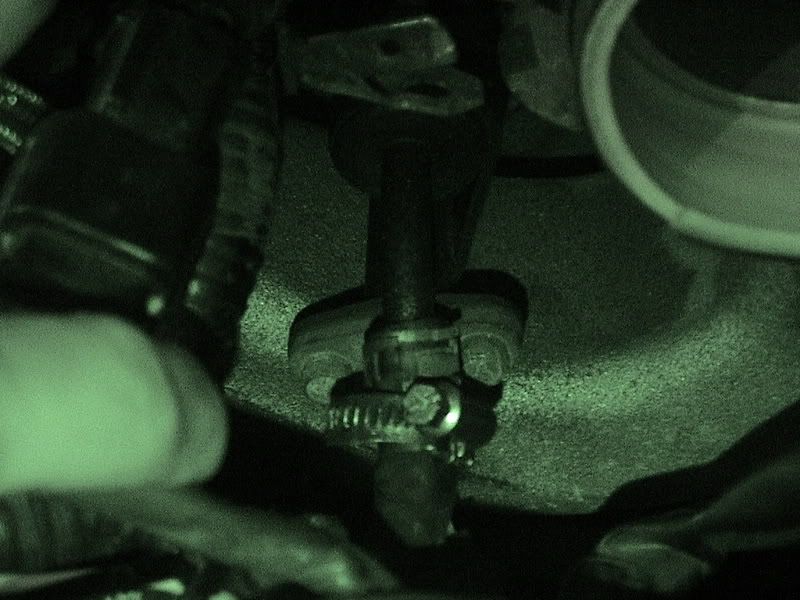  Step 3I had an HRC turbo system installed on my car so the fuel lines on mine are going different places after the connectors so just be sure to take note of that. Also I have a 95 2GNT so I have another fuel line that also had to be removed. I’m not sure how it looks for later models but this is the other fuel line I had to remove on my car. (see picture 3)  Step 4If you look straight down between your intake manifold and the top of your engine you'll see a black 'L' bracket held on with 2 black 13mm bolts (see picture 4). I removed this bracket to give me a little extra room.  Step 5You can pull off the harness connectors to your injectors easily, just squeeze and pull. (see picture 5) The wire loom these plugs come out of may be secure with plastic connectors to your fuel rail, pull these (or break them) out. (see picture 6) 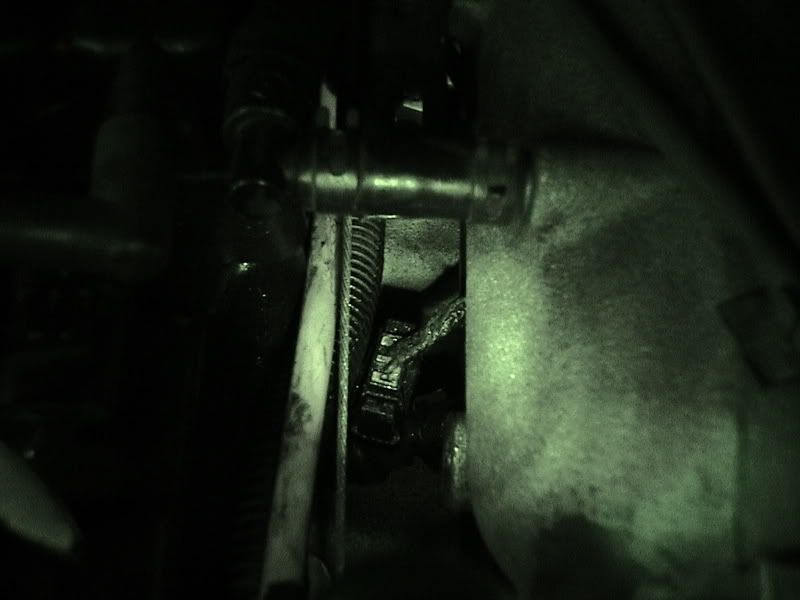 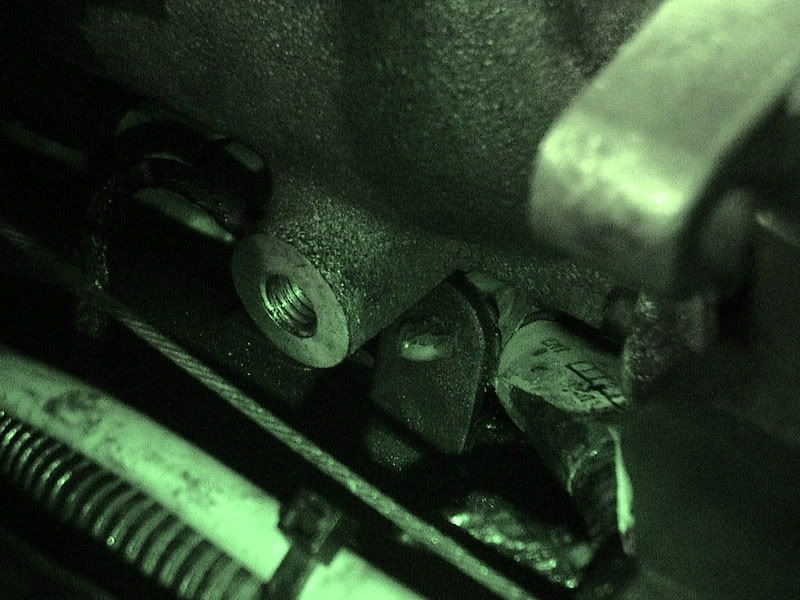 Step 6With the wire loom and plugs loose you should be able to pull the wires out of your way to give the fuel rail a clear path when you pull it out. (see picture 7) 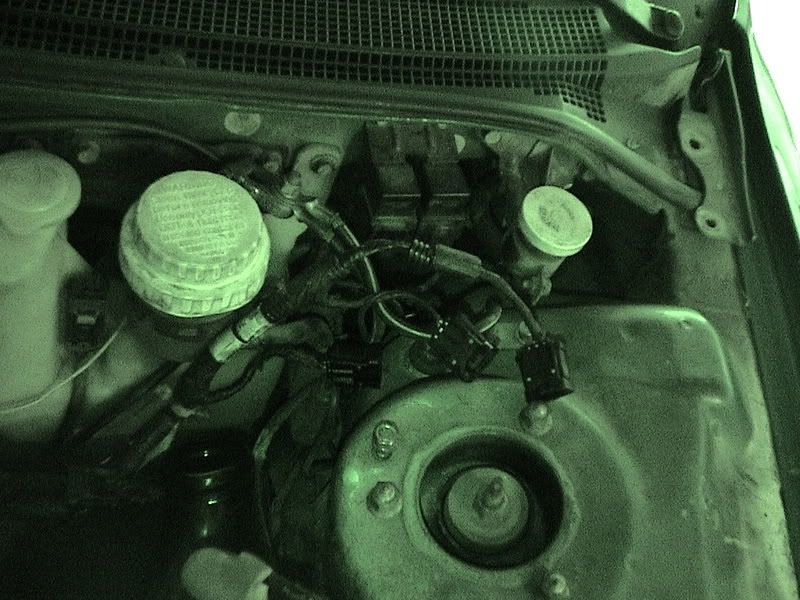 Step 7This is kind of the tricky part. There are 2 13mm bolts holding the rail in place. You will NOT be able to see them, but you can feel them with your fingers. If you can get your hand in there along the top of your fuel rail you can feel for them. One is close to the driver side the other is closer to the passenger side. The passenger side one will be easier to find if you’re on the passenger side of the car (duh). Since this one is easier to find do this one first to give you a better idea of where the other one is located. I had problems getting a 3/8 ratchet in there with a normal 13mm socket and it came out too much if I had a 13mm deep socket so what I did was use a 1/4 ratchet then used a 1/4 - 3/8 ratchet extender then used a 13mm socket on the extender to give me the right length while being able to use a smaller ratchet (see picture 8). Just break loose the bolts and you should be able to reach in there and loosen it the rest of the way with your hand.  Step 8Once you have those bolts out you'll just have to wiggle the fuel rail out till all the injectors pop out. wiggle wiggle wiggle! Step 9Then you'll have to work the fuel rail out from underneath there. Just be patient it can be done. Once I got it out from under the intake manifold and throttle body I actually led the rail down toward the ground and the brought the end of the rail out first. I'm sure you'll find your own way. I took a picture of the rail completely out for you to see. (see picture 9)  Step 10Once you have it out you'll see little metal pieces holding the injectors in. Take those off (easily done) (see picture 10 and 11) and pull the injectors out. When pulling out the old injectors the O rings on the top of the injector might stick in the fuel rail. You can get those out just by pulling them out with a flat head screwdriver (see picture 12). If you are reusing the O rings make sure none of them are cracked and make sure that each injector has one on the top and bottom. Put the new injectors in and put the metal pieces back on. Rotate the injectors into the same position as the other ones (injector plugs facing up) 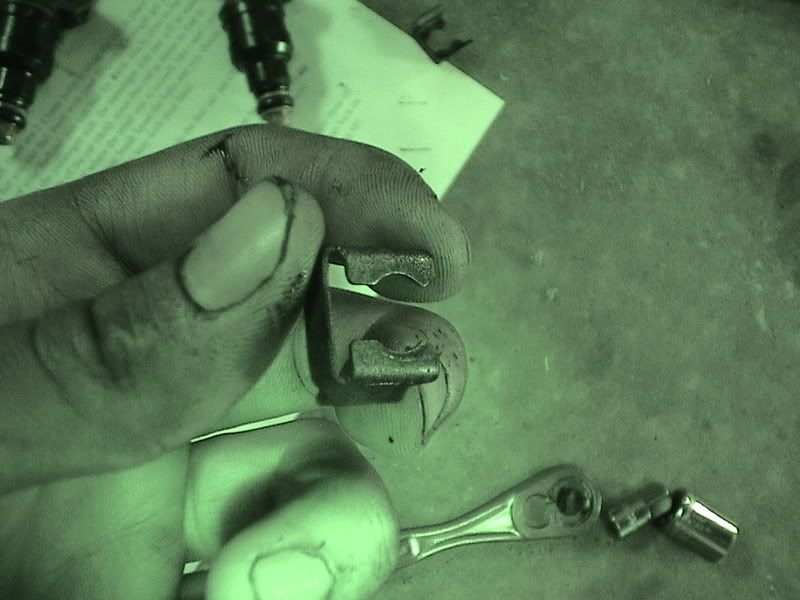  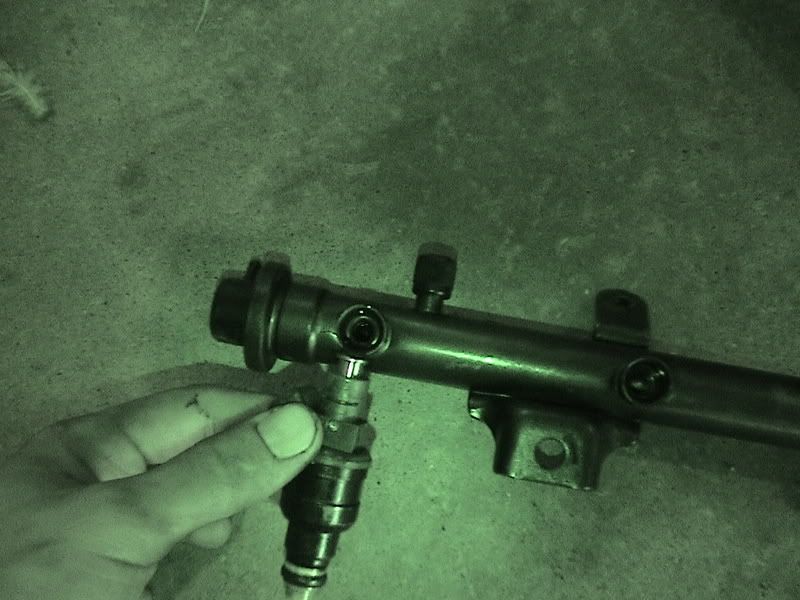 Step 11Reverse the whole removal process to reinstall. Maintenance Directions used from Manek1 and revised by QC DSM ESiTPictures taken and write up made by QC DSM ESiT |
| Document statistics: Last modified on 2007-07-28 13:15:11 by QC DSM ESiT |
